You turn up the heater. You blast the air conditioning.
Yet, within minutes, your home feels uncomfortable again. Rooms draft. Temperatures swing wildly from one corner to the next. Your energy bills climb higher every month, while your comfort slips through your fingers.
Most people blame their heating and cooling machines. They buy a new system or adjust the thermostat settings.
The real problem lies elsewhere.
It lives in the hidden boundaries of your living space. It is your home thermal envelope.
Mastering this physical boundary changes everything. It stops energy waste at the source, slashes your utility costs, and turns your house into a stable, comfortable sanctuary.
Here is how your home thermal envelope works and how you can optimize it for year-round comfort.
What Is a Thermal Envelope?
Think of your home as a person standing outside in a freezing storm.
If that person wears a thick winter coat, they stay warm. If they leave the coat open or wear something full of holes, the wind cuts right through them.
Your house wears a coat, too.
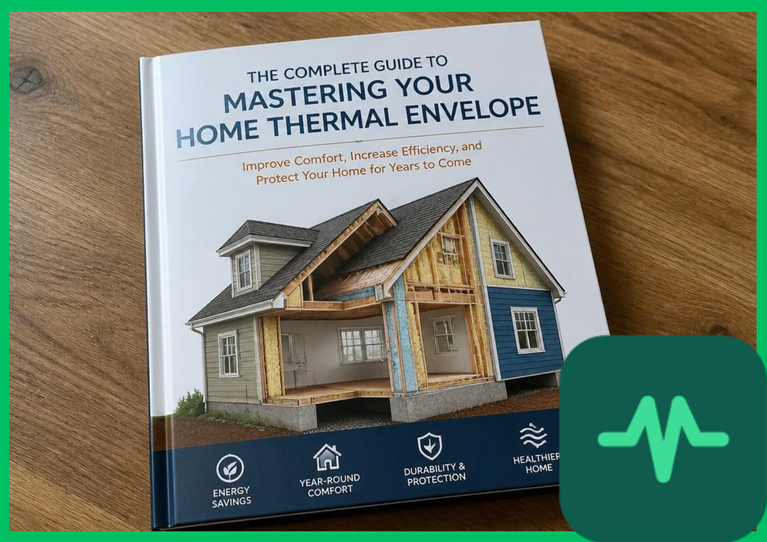
The thermal envelope is the physical barrier that separates the conditioned air inside your living space from the unconditioned air outside. It includes your roof, attic floor, exterior walls, windows, doors, and foundation floor.
When this envelope is continuous and sealed tight, your home holds its temperature. When it has gaps, cracks, or weak insulation, outdoor weather leaks inside.
You pay good money to heat or cool air. If your thermal envelope fails, that conditioned air escapes into the atmosphere within minutes.
The Two Forces of Energy Loss
To fix your home thermal envelope, you must understand how heat moves. Heat is restless. It always flows from warm areas to cold areas, trying to find balance.
This movement happens through two primary mechanisms: air leakage and heat conduction.
1. Air Leakage
Air leakage is the physical draft you feel near a window frame or an electrical outlet. Warm air rises and escapes through your attic in cold weather, pulling cold outdoor air in through lower gaps. This process is called the stack effect.
Air leaks carry moisture along with them. That moisture condenses inside your walls, rotting wooden structures and feeding mold. Stopping airflow is always step number one in thermal optimization.
2. Heat Conduction
Conduction happens right through solid materials. Wood, glass, drywall, and concrete all conduct heat to varying degrees.
If your walls lack proper insulation, heat travels straight through them. In summer, outdoor heat radiates right into your living room. In winter, indoor warmth bleeds out through exterior surfaces.
Insulation acts as a speed bump for conduction. It traps tiny pockets of air, slowing down the transfer of heat and keeping your interior climate stable.
Mapping Your House: Finding the Weak Spots
Before you touch a tool or buy a roll of insulation, you need to find out where your thermal envelope is leaking.
Houses have common trouble spots. Walk through your home and look for these classic failure zones:
- The Attic Hatch: An uninsulated or unsealed attic access door acts like an open window. Warm air pours right past it into the roof space.
- Rim Joists: Where your foundation meets the wooden frame of your house, gaps frequently form, letting crawlspace air seep up into living areas.
- Utility Penetrations: Holes drilled for pipes, electrical wires, gas lines, and dryer vents are rarely sealed properly during construction.
- Windows and Doors: Old weatherstripping, warped wooden frames, and single-pane glass let both air and heat pass through with ease.
Step 1: Seal the Air Leaks
Air sealing gives you the highest return on investment in home efficiency. It stops drafts immediately and prevents moisture damage.
You do not need specialized engineering degrees to seal a house. You just need patience and simple materials.
Caulking Gaps
Use high-grade exterior caulk to seal cracks around window frames, door trims, and baseboards where air sneaks through. A tiny bead of caulk stops a surprising amount of cold draft.
Weatherstripping Doors and Windows
If you can see daylight under an exterior door, you are losing massive amounts of energy. Install durable rubber or brush weatherstripping along door stops and window sashes. When closed, a door should compress the weatherstripping tightly all the way around.
Plugging Major Chases
Look inside your utility closets, under kitchen sinks, and behind bathroom vanities. Large holes around drainpipes and electrical conduits should be filled with expanding foam or rigid sheet metal blocked with fire-resistant sealant.
Step 2: Optimize Your Insulation
Once the drafts are gone, focus on slowing down conduction. Insulation performance is measured by its resistance to heat flow.
When upgrading insulation, aim for continuous coverage across all boundaries of your thermal envelope.
The Attic Priority
Heat rises. In winter, your living space pushes warm air straight up toward the roof. If your attic insulation is thin, compressed, or missing in corners, all your heating power escapes instantly.
Ensure insulation levels are thick and uniform across your entire attic floor. In imperial measurements, this often means aiming for an R-value of R-49 to R-60 (roughly 40 centimeters to 50 centimeters of depth, depending on the material). Make sure your attic soffit vents remain unblocked so roof timbers stay dry and well-ventilated.
Wall Cavities
Exterior walls are harder to upgrade after a home is built, but you can inspect windows, check for settling insulation, and ensure wall outlets on exterior walls are sealed with foam gaskets to stop hidden wall drafts.
Managing Thermal Bridging
There is a hidden trap in home construction called thermal bridging.
Wood and metal studs conduct heat much faster than insulation. If your wall framing creates a direct bridge from the cold exterior siding to the warm interior drywall, heat flows right through those studs, lowering your overall wall performance.
Advanced home design uses continuous exterior insulation panels wrapped around the outside of the framing studs to break these bridges. While retrofitting exterior insulation is a major project, understanding the principle helps when planning renovations or additions.
The Rewards of a Tight Envelope
Mastering your home thermal envelope changes how your living space feels.
Cold drafts vanish. Hot spots near sunlit windows disappear. Your HVAC system stops running continuously, turning on only occasionally to maintain your target temperature. That means less wear and tear on your equipment, lower energy consumption, and a quieter home.
Best of all, you gain control over your indoor climate.
Take a weekend to inspect your seals, check your attic, and tighten your boundaries. Your home will reward you with steady comfort through every season of the year.

Comments (0)
Login to leave a comment.
No comments yet. Be the first to share your thoughts!